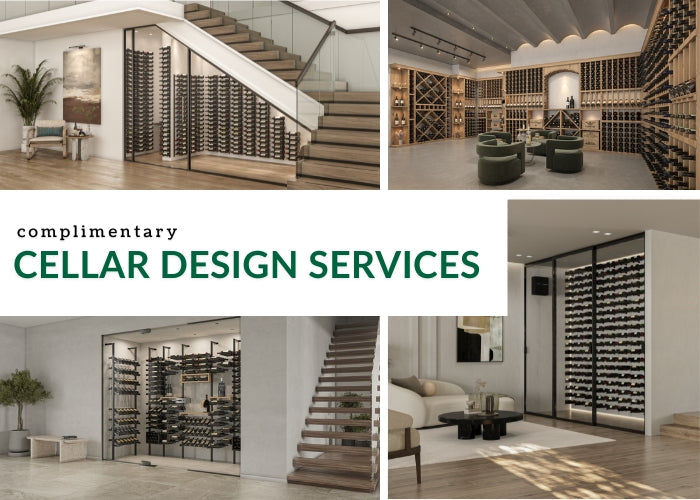
How to Build a Functional Wine Wall
A functional wine wall is a display that looks polished while still working as everyday storage. It should hold the right number of bottles, make labels easy to read, allow bottles to be removed comfortably, and support the overall storage conditions the wine collection needs.
This guide explains how to build a wine wall that works for homeowners, designers, and builders. Before choosing a wine rack, define where the wall belongs and what the finished display needs to hold.
Choose the Right Wall for Display and Storage
Location affects every part of a wine wall design. A wine display wall should be visible enough to enhance the room, but protected enough to avoid storage problems.
Look for a wall that is easy to reach and protected from sunlight, heat, and direct HVAC airflow. Dining rooms, home bars, wide hallways, lounges, and kitchen-adjacent spaces can all work well.
Before moving forward, check a few basics:
- Choose an interior wall when possible
- Avoid direct sunlight and nearby heat sources
- Leave enough clearance for removing bottles
- Keep the wall away from tight walkways
- Confirm access to power if lighting will be added
- Make sure the wall can support the loaded rack system
A residential wine wall should feel connected to the living area rather than separated from it like a full cellar.
Determine the Purpose of the Wine Wall
A wine wall for entertaining may need a different layout than a wine storage wall for a growing collection. The more clearly the purpose is defined, the easier it becomes to choose the right rack format and enclosure plan.
A small wine bottle wall near a bar can keep favorite bottles within reach. A larger floor-to-ceiling wine rack can add capacity without taking up much floor space. For valuable bottles, a climate-controlled wine room or glass wine wall may be the better long-term choice.
Ask these questions early:
- Will the bottles be opened soon or stored long term?
- Should labels face forward for easy selection?
- Does the wine collection include Champagne, Pinot Noir, or magnums?
- Is the wall mainly decorative, or does it need serious capacity?
- Will the collection grow over time?
These decisions help prevent a display that looks good at first but becomes hard to use later.

Plan Bottle Capacity Before Choosing Racks
Bottle count should be planned before any wine racks are ordered. A compact set of wall-mounted wine racks may be suitable for a curated display, while a custom wine wall may need deeper storage and a more structured layout.
Start with the number of bottles in the wine collection now, then add about 25–30% extra capacity. For fast-growing collections, planning closer to 50% extra capacity can help prevent the wine wall from feeling full too soon.
A practical layout may include:
- Single-depth storage for strong label visibility
- Double-depth storage for added capacity
- Feature rows for favorite bottles
- Spaces for larger bottle formats
- Open areas near cabinetry or bar storage
A modern wine wall does not need to hold the entire collection. Many homes use a visible wine wall display for ready-to-enjoy bottles, while overflow or long-term storage stays in a separate wine cellar or cabinet.
For a label-forward layout, wall-mounted metal options such as the VintageView W Series can help create a clean display while keeping bottle details visible.
Choose a Display Style That Supports Access
Wine wall systems can display bottles in several ways, and the right choice should match the room and the way bottles will be used.
Label-forward racks make selection simple because the bottle details stay visible. This approach works especially well for a home bar or compact wine wall display.
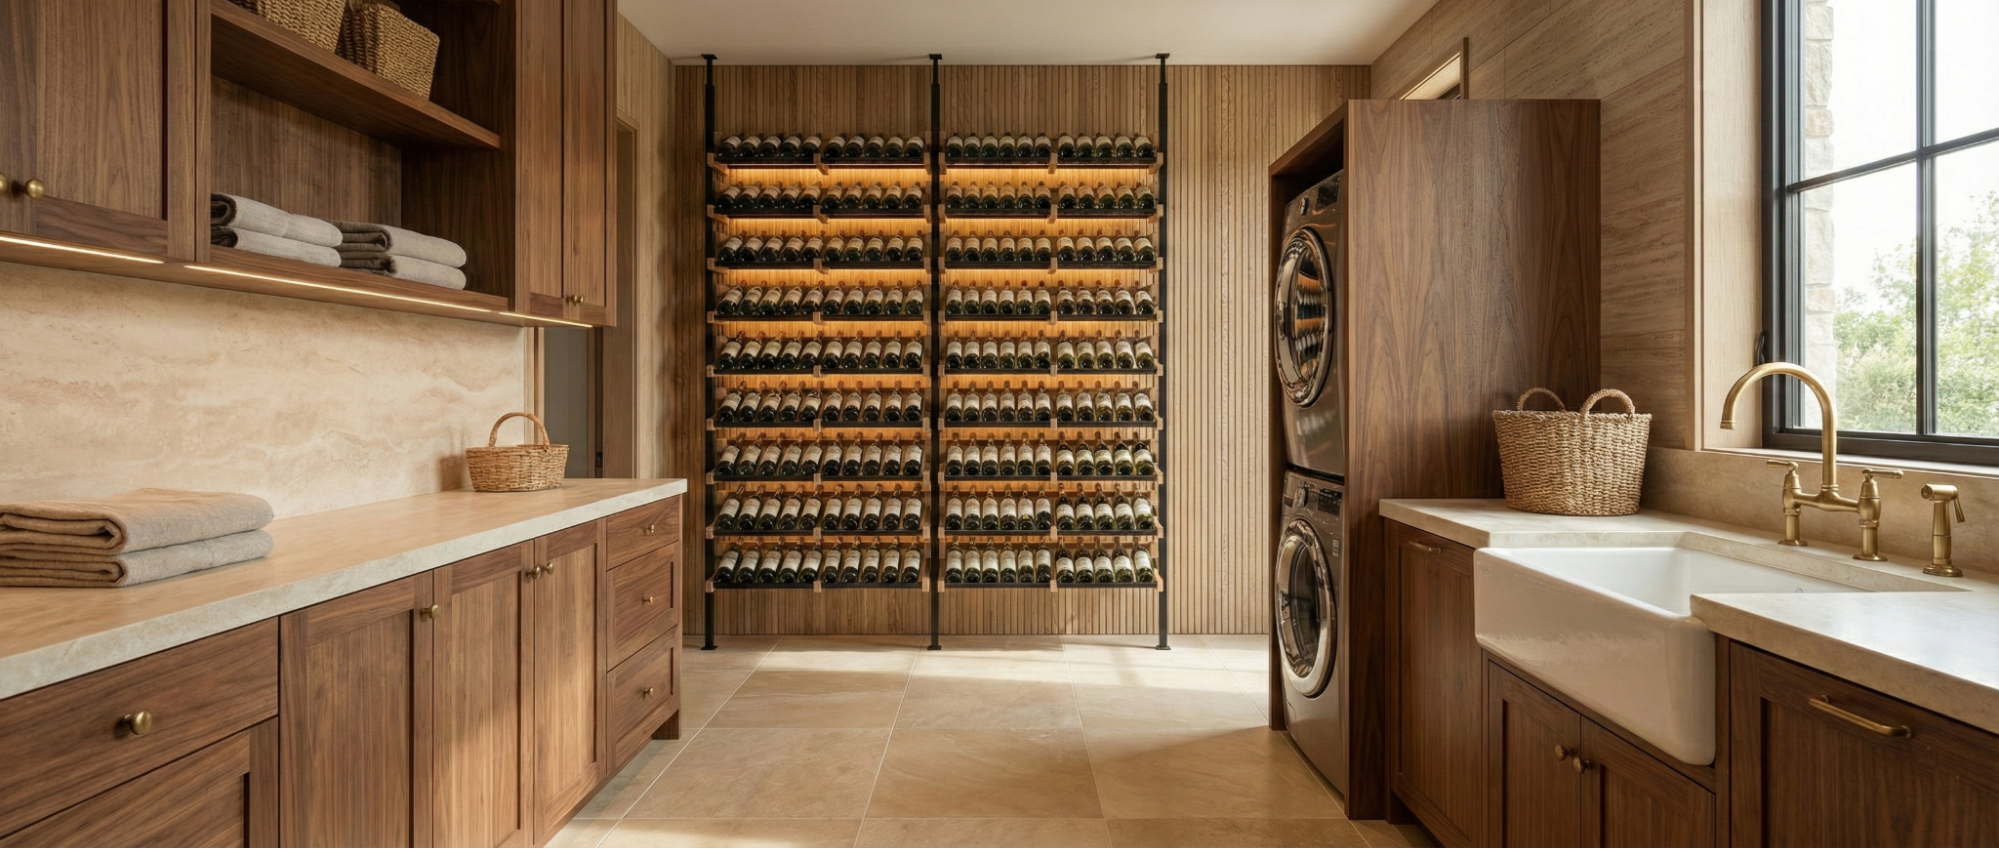
Horizontal storage is a practical choice for cork-finished bottles because the bottle rests on its side. It also creates a clean visual rhythm across the wall.
A floor-to-ceiling wine rack can give the wall more architectural presence. Builders should plan carefully for reach height, secure mounting points, and clearance at the floor and ceiling.
Prepare the Wall Structure
A wine wall becomes heavy once filled. The structure behind the finished surface matters as much as the style of the wine racks.
For a DIY wine wall, follow the manufacturer’s instructions and use hardware suited to the wall material. Larger installations, glass enclosures, and multi-column layouts may require a professional contractor or installer.
Before installation, confirm that:
- The layout is level and aligned
- Mounting points are secure
- Bottle spacing allows easy removal
- The wall can support the loaded system
- Lighting wiring is planned before racks go up
- Trim or cabinetry will not block access
Good planning keeps the finished wine wall safe and easier to use.

Decide on Open Display or Climate-Controlled Storage
An open wine wall (that is, without glass doors or a sealed enclosure) in a living area works well for short-term bottle display, especially when the room stays comfortable and stable. Long-term wine storage needs more control.
For storing your wine over time, aim for a consistent temperature between 50–60°F and relative humidity between 50–70%. Heat, sunlight, low humidity, vibration, and temperature swings can all affect wine quality.
A climate-controlled wine room or glass wine wall can help protect more valuable bottles. Tempered glass may be used for safety, while proper seals, insulation, and a suitable cooling system help support a more stable storage environment. Cooling work should be coordinated with a qualified professional, since system sizing and airflow affect performance.
Add Lighting Without Adding Heat
Lighting can turn a simple wine storage wall into a finished design feature. The goal is to highlight labels and rack geometry without warming bottles.
Low-heat LED lighting is usually the best choice. Dimmable controls help the display shift from task lighting to softer evening light. Avoid direct sunlight as a design feature, and place fixtures to reduce glare on glass doors and nearby finishes.
Plan lighting early, especially when the wine wall design includes cabinetry, millwork, stone, or a glass enclosure.
Coordinate the Wine Wall With the Room
A custom wine wall should feel connected to the room around it. Designers and builders can create a more finished look by coordinating the rack system with nearby materials and finishes.
Consider:
- Matching the rack finish to cabinet hardware, lighting, or metal accents
- Using darker wall colors to help bottles and labels stand out
- Pairing metal wine racks with wood cabinetry or stone surfaces for warmth
- Repeating the room’s existing lines so the wine wall feels built in
Metal wine racks can create a sleek, contemporary display with strong label visibility. In a transitional wine room design, clean-lined racks can pair well with softer surrounding finishes.

Build a Wine Wall That Fits Your Space
With the right plan, a blank wall can become a refined display for everyday living and special occasions.
Explore Wine Racks America’s wine wall racks to create a label-forward display with modern metal rack options, modular layouts, and space-saving configurations for residential and commercial wine walls.